Product Development Update April 2017
Another big month with some real game-changers in there.
Before we start though we need to say a couple of words for a departed friend: Robot Avatars.
No More Robot Avatars.
We’re sorry if you liked the old ‘Robot’ avatars, but it was time to let them go. This was for a few reasons:
- They kind of made no sense with our branding or anyone else’s.
- They actually slowed down the system (Donesafe runs faster without them)
- Some users were getting confused with what they were for.
If you’d like to leave some kind messages in memory of Donesafe’s robots you can do so in the comments section below.
R.I.P Robot Avatars. You did us proud.
New Learning Management System Launched
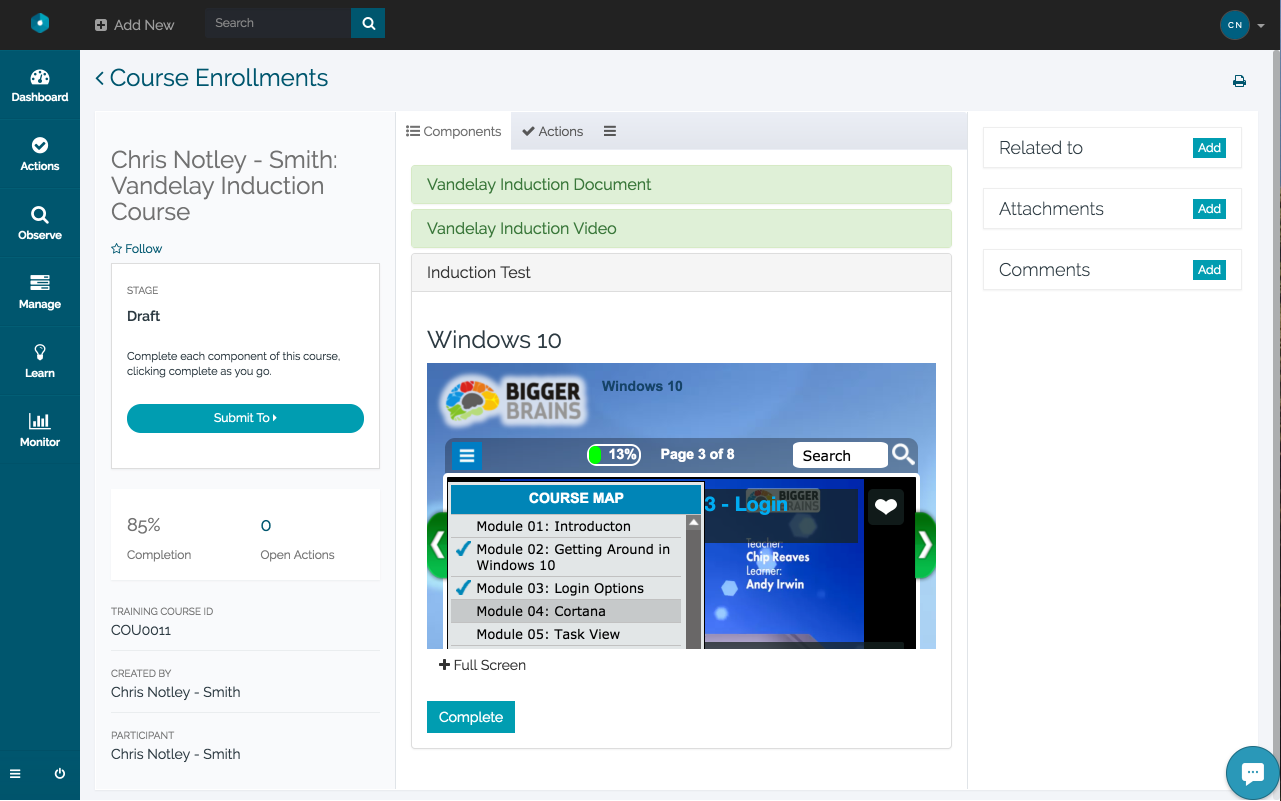
If you’ve had difficulty managing your learning management through Donesafe; don’t worry, it
wasn’t just you. We’ve been getting requests for a while now to make learning management easier,
and this month, learning management got a lot of upgrades. There is, of course, still more to do, but
this represents the first iteration of this upgrade.
These upgrades include:
- Brand New Course Management module of courses and e-learning.
- Updates to Document management and Course Management on user profiles
- New report builder options to allow export of single-user courses and documents
- New automations for documents and courses to allow for auto enrolments, auto expiry notifications etc.
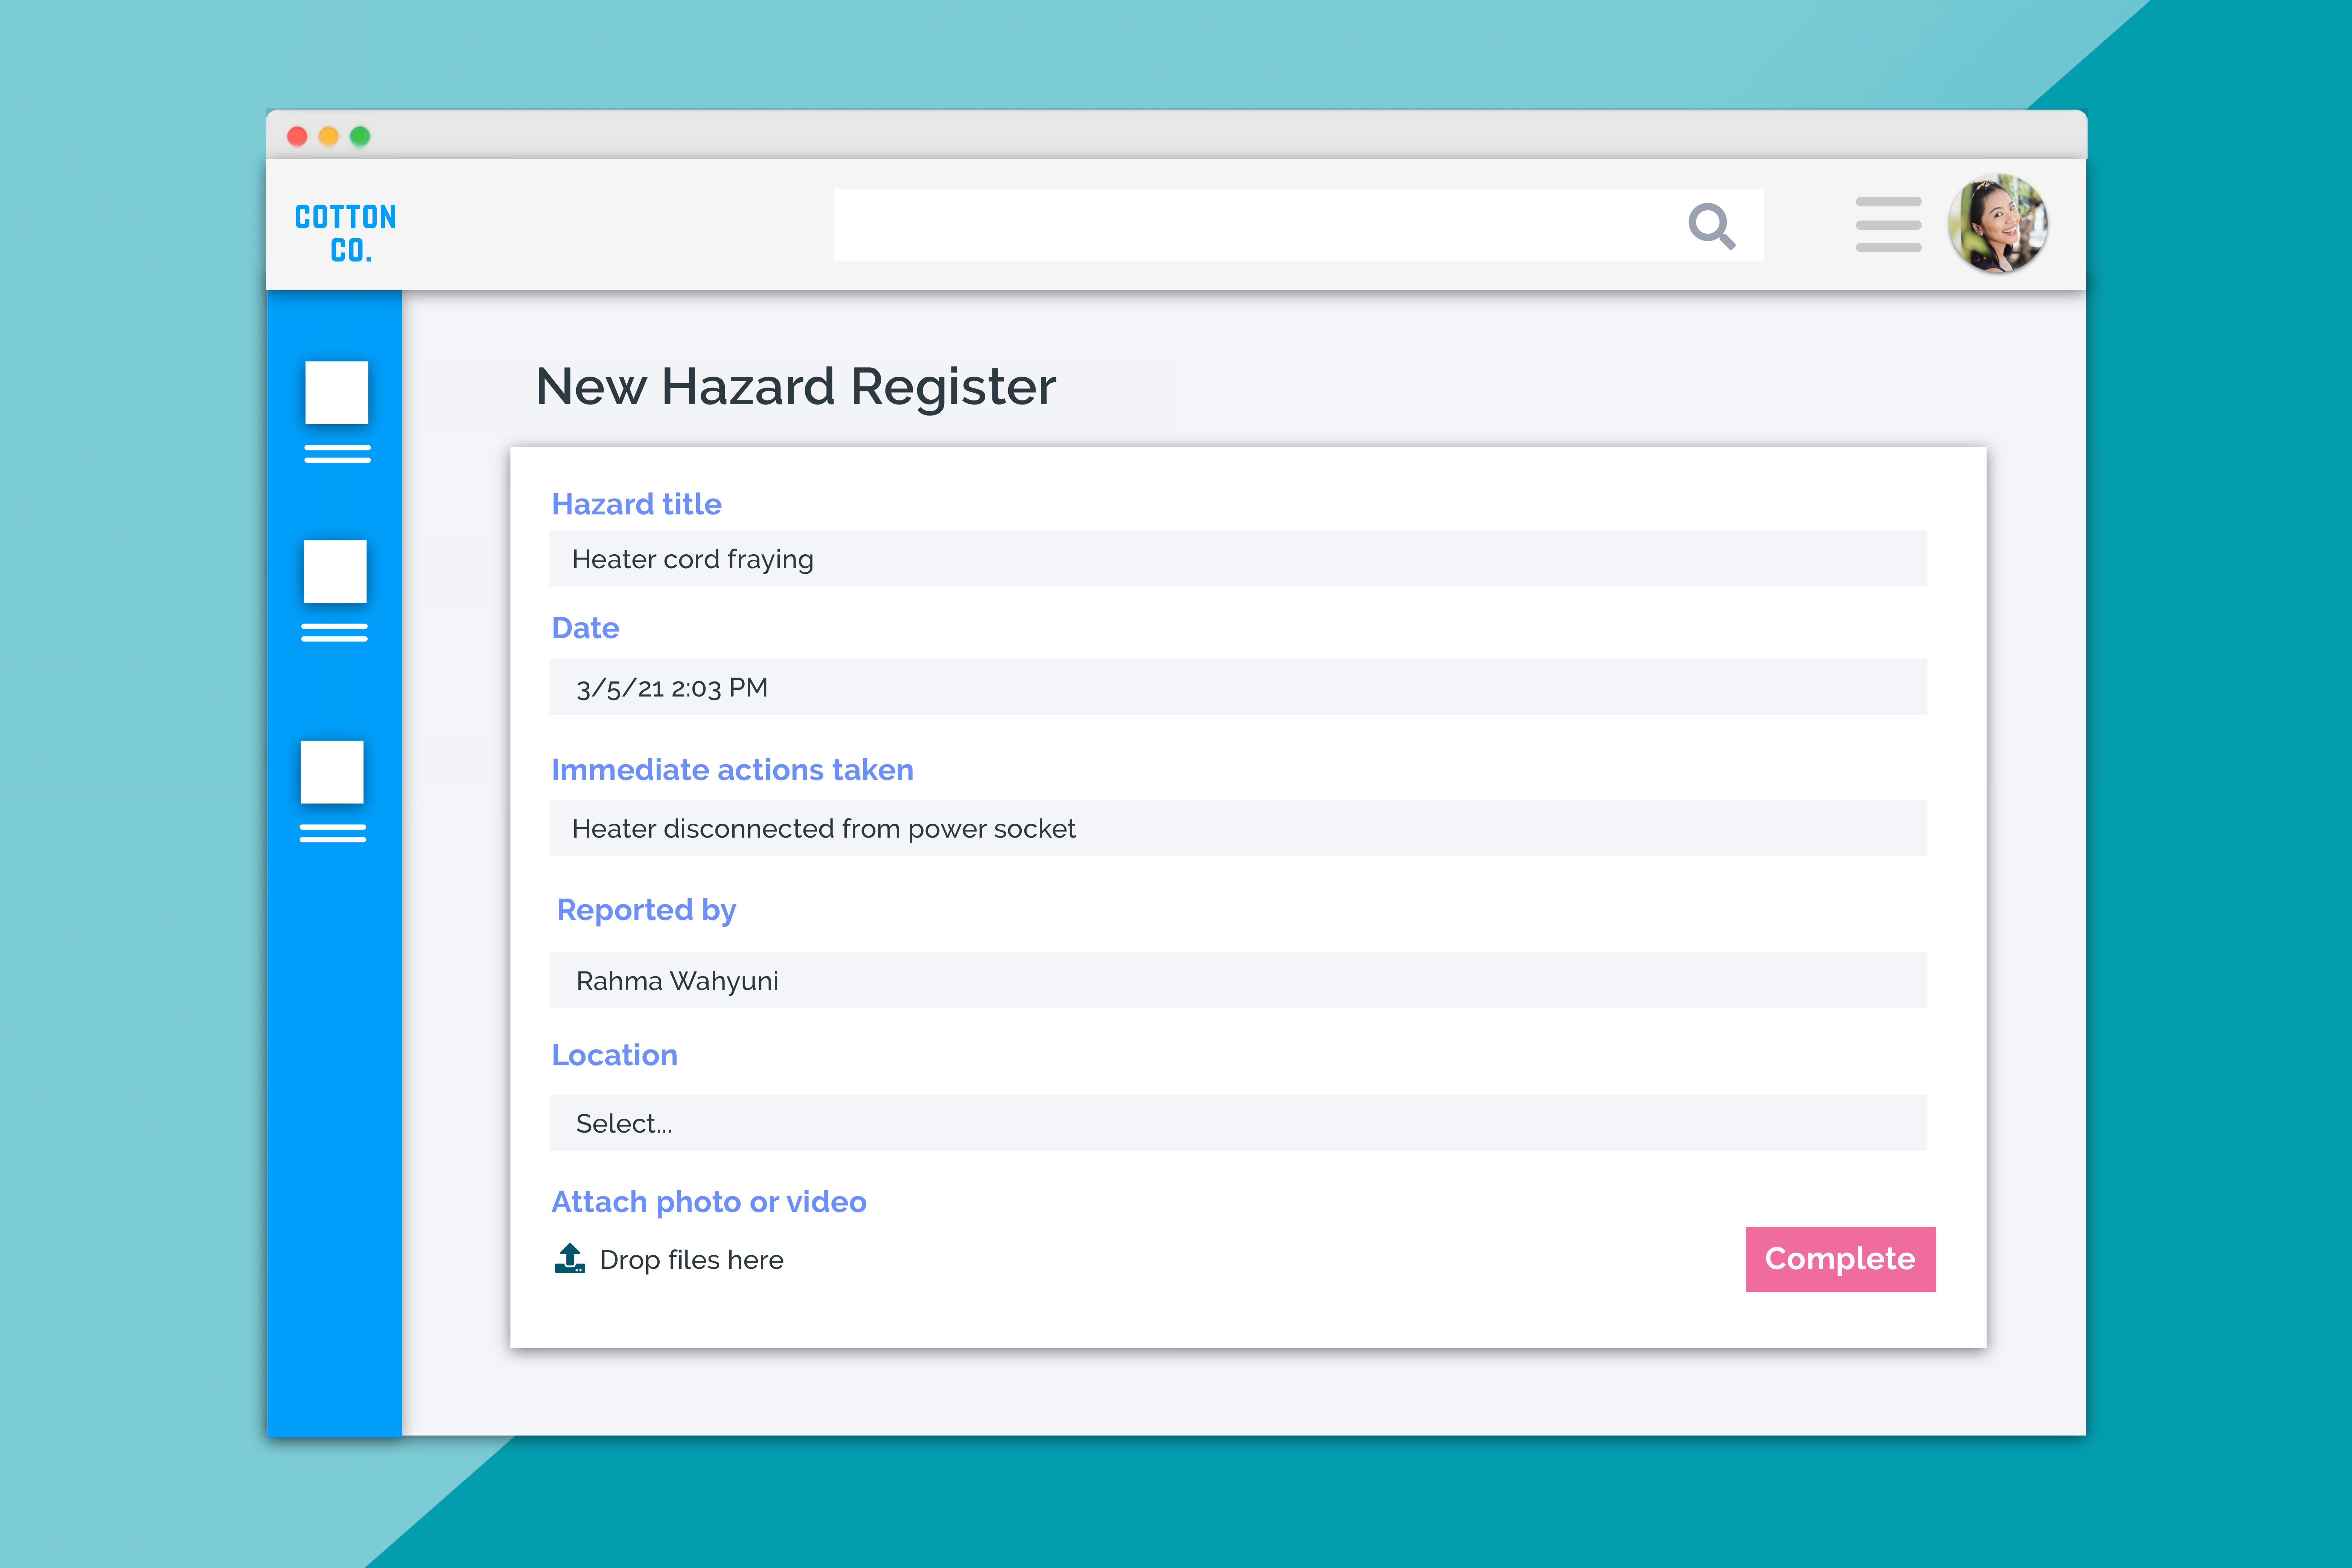
New Hazard Duplication System
Another really common request we’ve been receiving is the ability to duplicate Hazards. We’ve been
trying to strike a balance between making hazard management quicker and easier, while also
ensuring it stays compliant. We’ve come up with a simple solution. Rather than applying a single
hazard to multiple areas, we’ve added a hazard duplication tool!
This tool is available by Role, so to enable it for yourself head to Settings > Roles, then click on your Role. Scroll down to ‘Hazard’ and underneath the rule set, tick the “Use Duplicate Hazard” check box and click save.

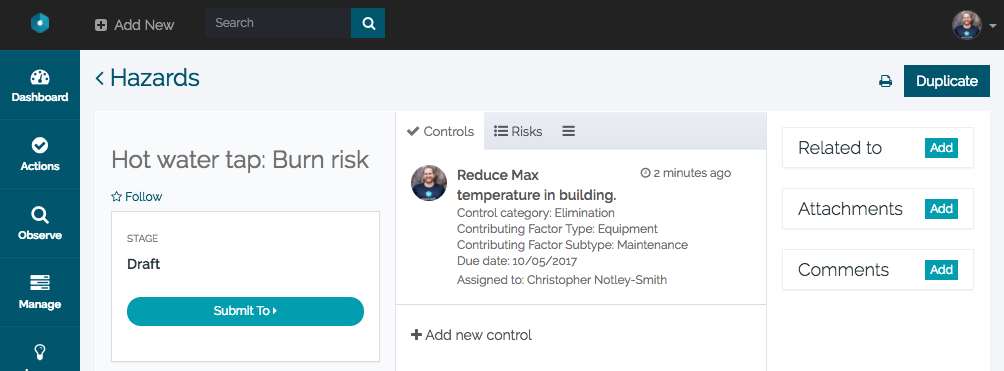
Then, head to Hazards and select a hazard that you’d like to duplicate for different areas. In this example, I’ve picked one that could easily apply to multiple areas and locations.
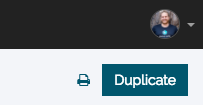
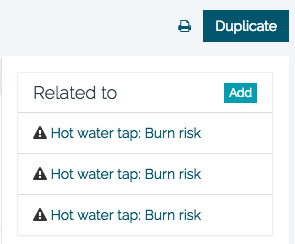
You’ll now see a Duplicate button on the top right of the screen.
To duplicate this hazard, simply click Duplicate and you’ll see a pop-up box asking which locations you’d like to duplicate a hazard in.
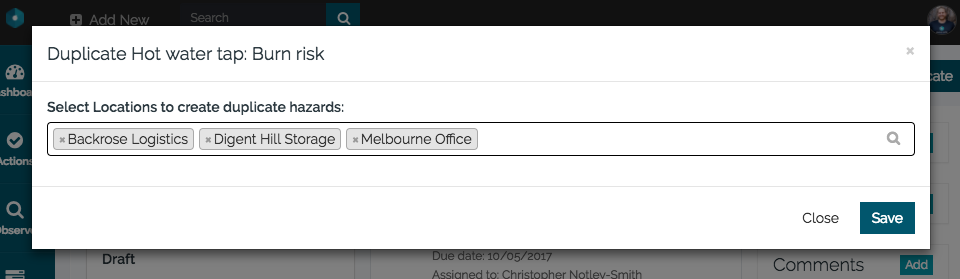
Select your locations and click Save.
It’s that simple. As you can see, this hazard is now related to all of your duplicate areas also.
This duplication system duplicates everything in the record except for ID, created date, location, and
area. Everything else is copied, including the status of actions, controls, risks, and workflows. This
being the case, you may need to put some thought into how you proceed with hazard duplication.
What to consider when using this tool:
- Will this duplication trigger any automations that you’ve set up AND do you want it to?
- Do you want the controls to be open or closed when you duplicate? AND are there any controls or risks that you DON’T want to duplicate.
- The Location field will populate with the new locations you selected, however, the areas to which those hazards apply will still need to be selected. (the Area field is left blank when duplicating). So you’ll need some process around how you want to manage that.
One use case we saw was relatively simple; they clicked Duplicate and they were done. In another case, the duplicator then went to each duplicated hazard and assigned the controls to different users as well as set up the areas. How you do this is really up to, but already; you’ve just saved yourself a mountain of time where otherwise, you’d have been setting up hazards manually.
New ‘Special Responsibilities’ Tagging System

We’ve introduced a user ‘Tag’ system for Emergency Management (and other stuff too)!
Using the new ‘Tag’ system, you can now assign a ‘Tag’ to a user that marks them as having a ‘Special Responsibility’. This ‘Tag’ could be ‘Fire Warden’ or ‘First Aid’ BUT, it could also be something broader, such as ‘Area Manager’. Each one of these tags, when added to a user is also given a location.
In effect, you’re designating a user for a particular ‘Special Role’ within a location. This special role can then be used in User Collections and Automations, AND it’s tied into a bunch of special reports to ensure that you never fall below certain responsibility levels within a location.
Now, this isn’t a ‘required’ functionality, BUT it may solve some problems you’ve been having.
There are huge implications for this Tagging System, and it is a bit of a larger update, so click here to read the full release notes.
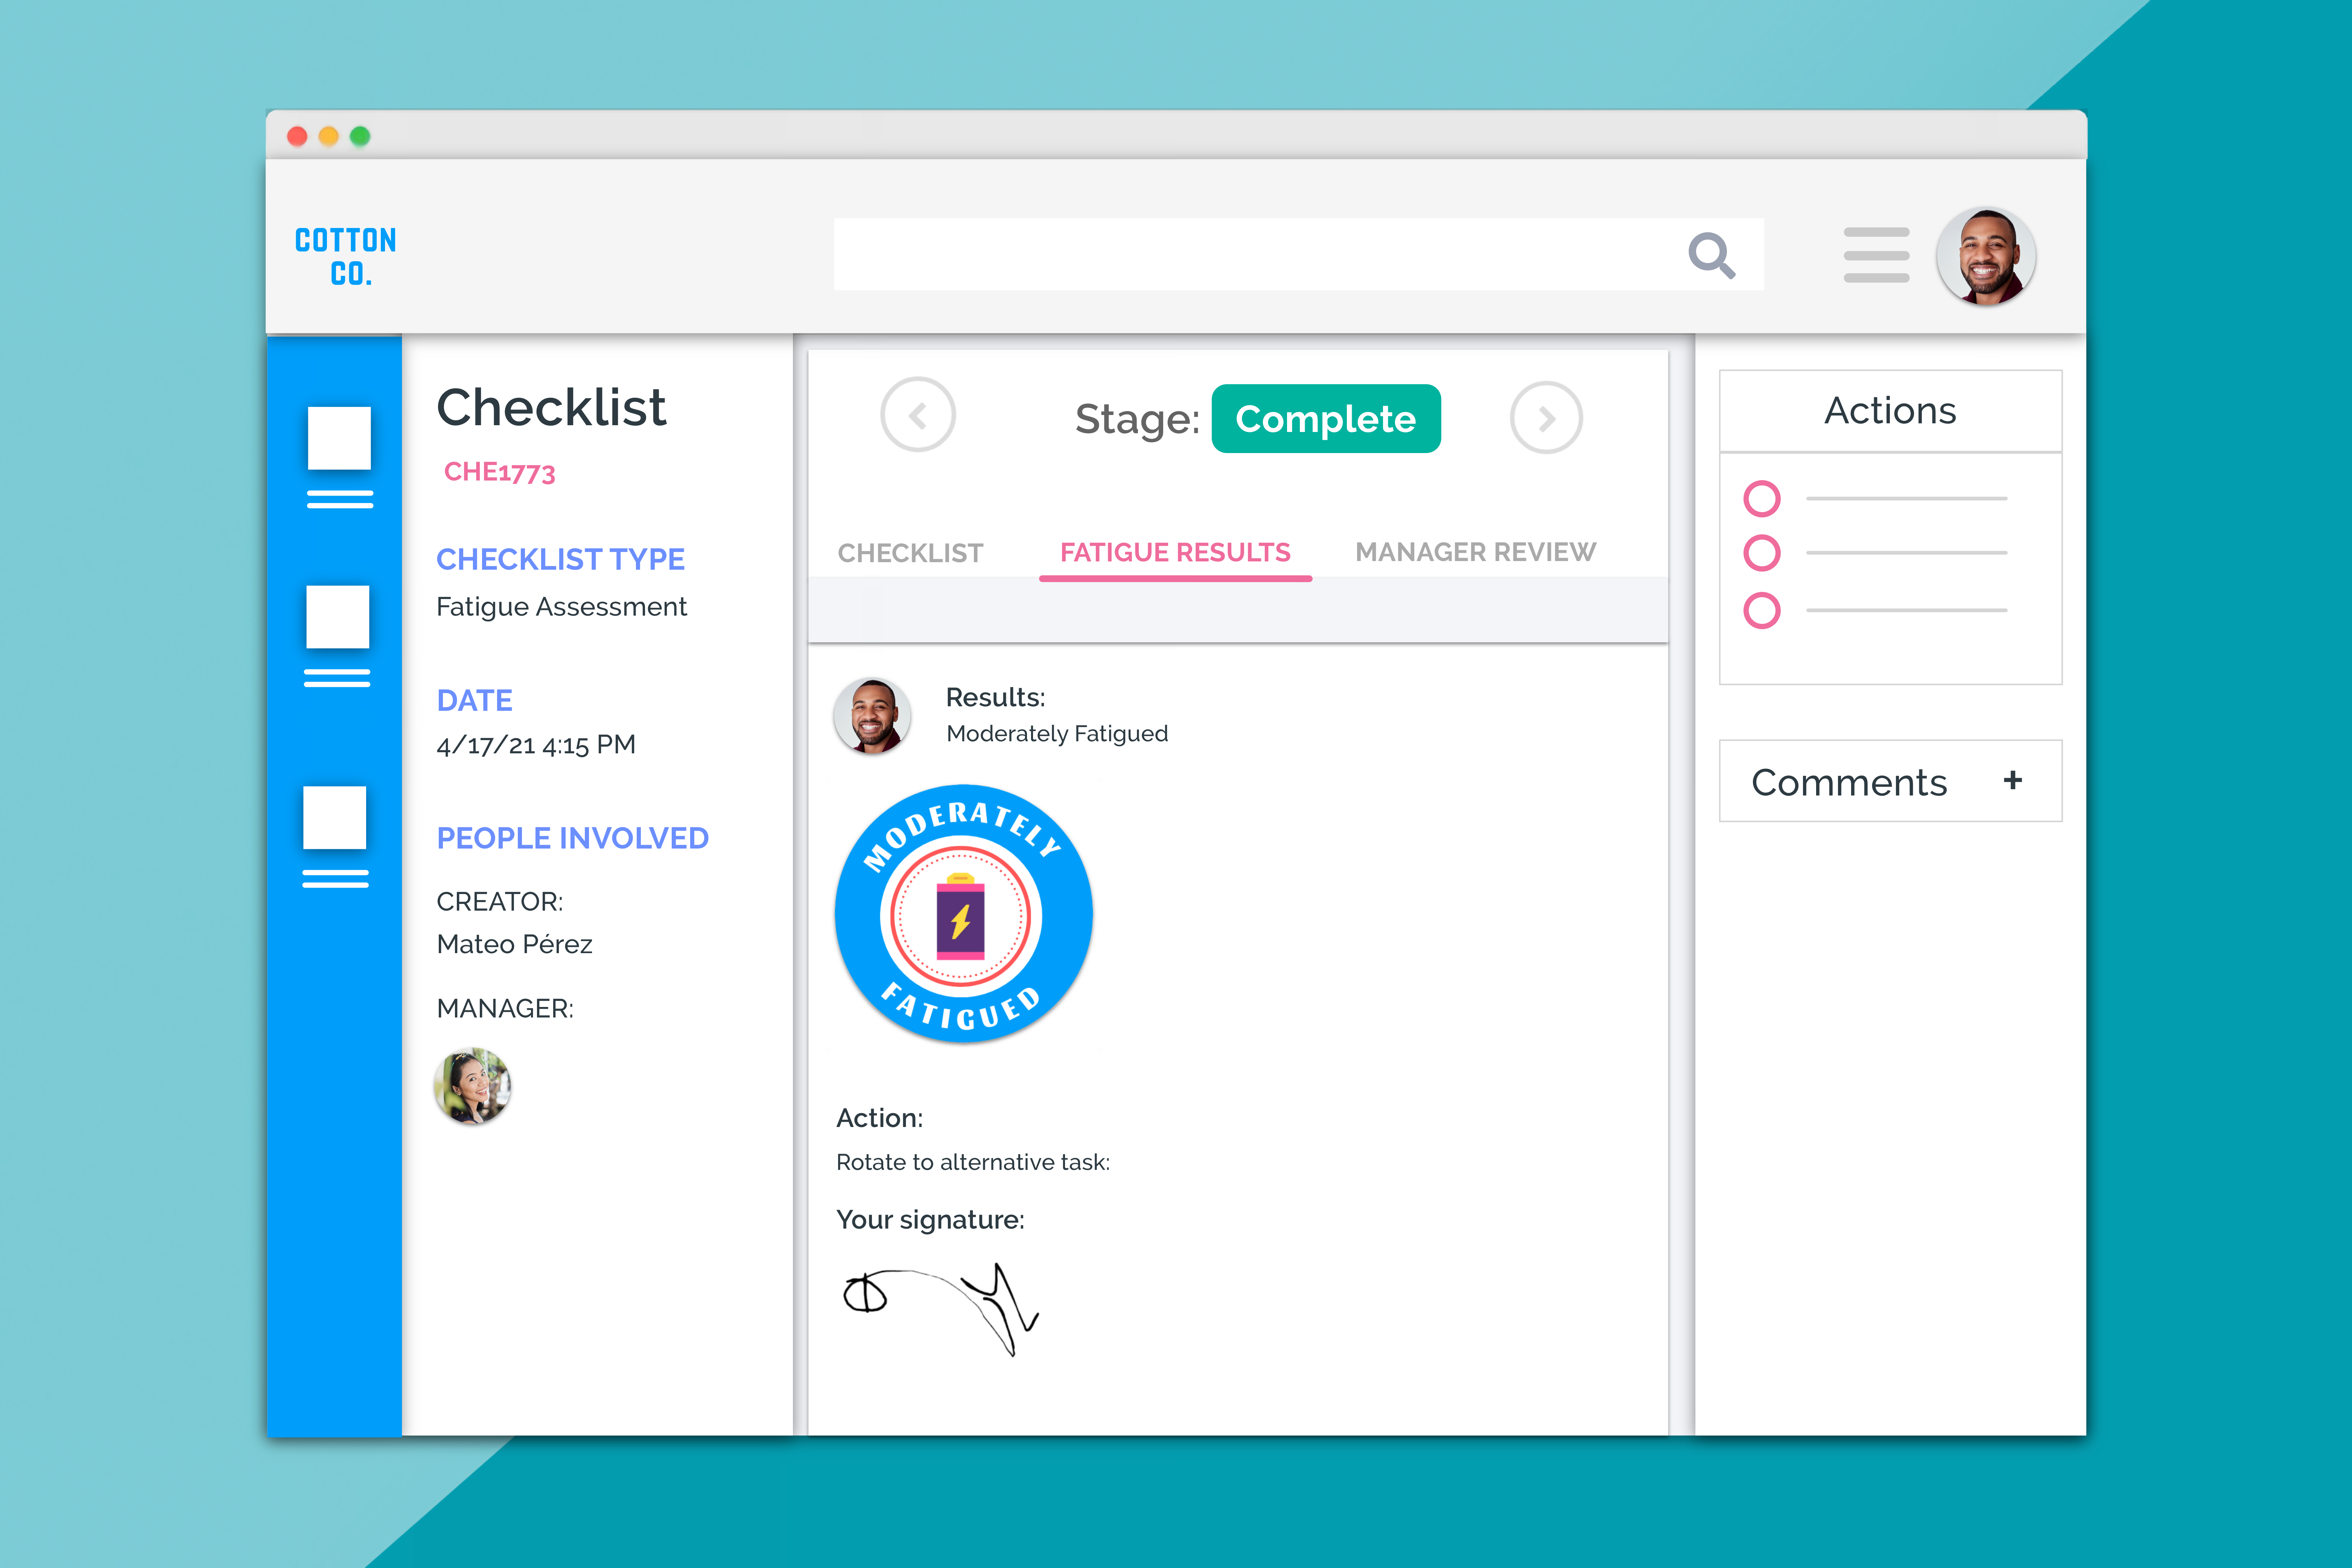
New Audit/Observation template statuses.
This one is really simple, but it has a great bonus strapped on. With Audits and Observations, if a user had started an audit an observation and not finished it, it was difficult to tell the difference between that and a record that had been completed. A very simple solution has been put in place.
Draft & Complete Statuses
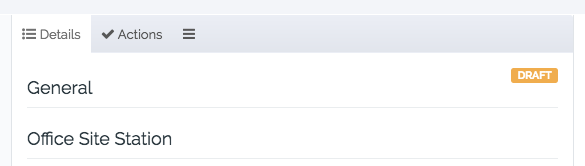
If when you’re working on your checklist, you click the Save as Draft button at the bottom, then a small indicator appears above the template on your record page: “Draft”.
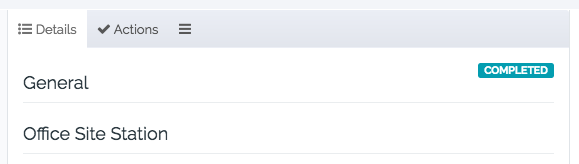
Alternatively, when you click Save instead of Save as Draft, that indicator will simply change to: “Complete”.
Simple right? But, the super cool bonus that comes with this, is that now you can restrict workflow
advancing based on this status. So, what that means in practice is that you can set it up so that if a
user hasn’t completed their checklist adequately, they can’t advance their workflow until they do
complete it.
If you’d like a demo of what this does, and how to set it up, click here to organize a trial or tutorial.
Notable New Workflow & Automation Tricks
- You can now block moving between workflow steps if all actions have yet been completed.
- Block users from submitting incomplete audits or observations.
- Trigger automations based on adding incident participants.
- Trigger automations based on “Hours Before (Due Date)” for documents, learning records, and SDS register.
- Trigger automations x hours after creation (Eg, if an audit was created but not submitted within a day)
If you’d like a demo of what it does and to learn how to set it up along with some of the feature mentions here, click here to organize a trial or tutorial.
Major Change in Locations
This one was a big one. You may have noticed that the location selector no longer appears next to your profile icon in the top header.
Don’t panic- it’s a good thing.
This location selector was a Global location selector, and, as it turns out, most users were simply not
using it that way. The way it used to work was that if you selected a location up there, the system
would only return records from that location.
On one hand. that seemed like a useful, logical option to have, but as it turns out, it led to people
not being able to find records in locations they didn’t have active, so we lessened its power. This
Global location select had several other quirks, so, one by one, as we discovered that people didn’t
like them, we lessened the button’s functionality, until all it was really good for was filtering
Knowledge Base articles, and it didn’t even do that that well.
So it was time to kill it.
Ironically, to accompany this change we actually tightened up a bunch of stuff with locations to make them work more like how you would expect. Things like:
- Location selectors in records now ALWAYS choose your home location.
- If you aren’t active in a particular location you will never be shown records from those locations. (Before you could see them but not access them). We had a lot of people complaining about this second point regarding Knowledge Base articles in particular. That’s solved now.
Now, we know some people were using it in indexes of the platform that didn’t have a location selector so we are working hard to get those re-implemented on the page itself. The other area where we’re going to be adding some more filter options is the dashboard.
In the end, people just weren’t using it, and it wasn’t working that well anyway so… sometimes you just have to admit when you’re wrong.
Incident Types: You can now have subtypes go as deep as you want.
Donesafe is currently on a bit of a mission to simplify both our default Incident Reporting form and our settings section. One thing that has come up for multiple reasons is a revisit of how Incident Types work.
Before, you’d set Incident Types and then in another section of settings you’d assign subtypes to those types. This was problematic for a number of reasons:
- It meant that even if you DIDN’T have any subtypes, that field would still appear on the new Incident form.
- If you needed sub-sub types, this wasn’t possible.
- There was no way to force users to select a Subtype, so data was being missed.
To resolve those three issues (and a couple of others) we’ve removed Subtypes as a setting (don’t worry, your subtypes haven’t been lost). Subtypes are simply now added as “Incident Types” with a parent “Type”. This allows you to go as many levels deep with Incident Types as you want.
We’ve also added the ability to add custom placeholder text in order to provide the end-user with more instructions contextually related to their Incident Type selections. Take a look here, where I’m reporting an Incident type related to the popular PC action game: “Counter-Strike: Global Offensive”.
Yes, it’s a silly example, (don’t worry, nobody was harmed in the making of this gif), but you can see I’ve set relevant instruction text for each level and each level has flowed down nice and easily. Now some users won’t ever use this function, but for many; it’s just what they’ve been looking for.
To configure your Incident Types, simply go to Settings > Incident Types.
If you had subtypes before, you can see that they’re still there, safe and sound in this new, far more malleable format.
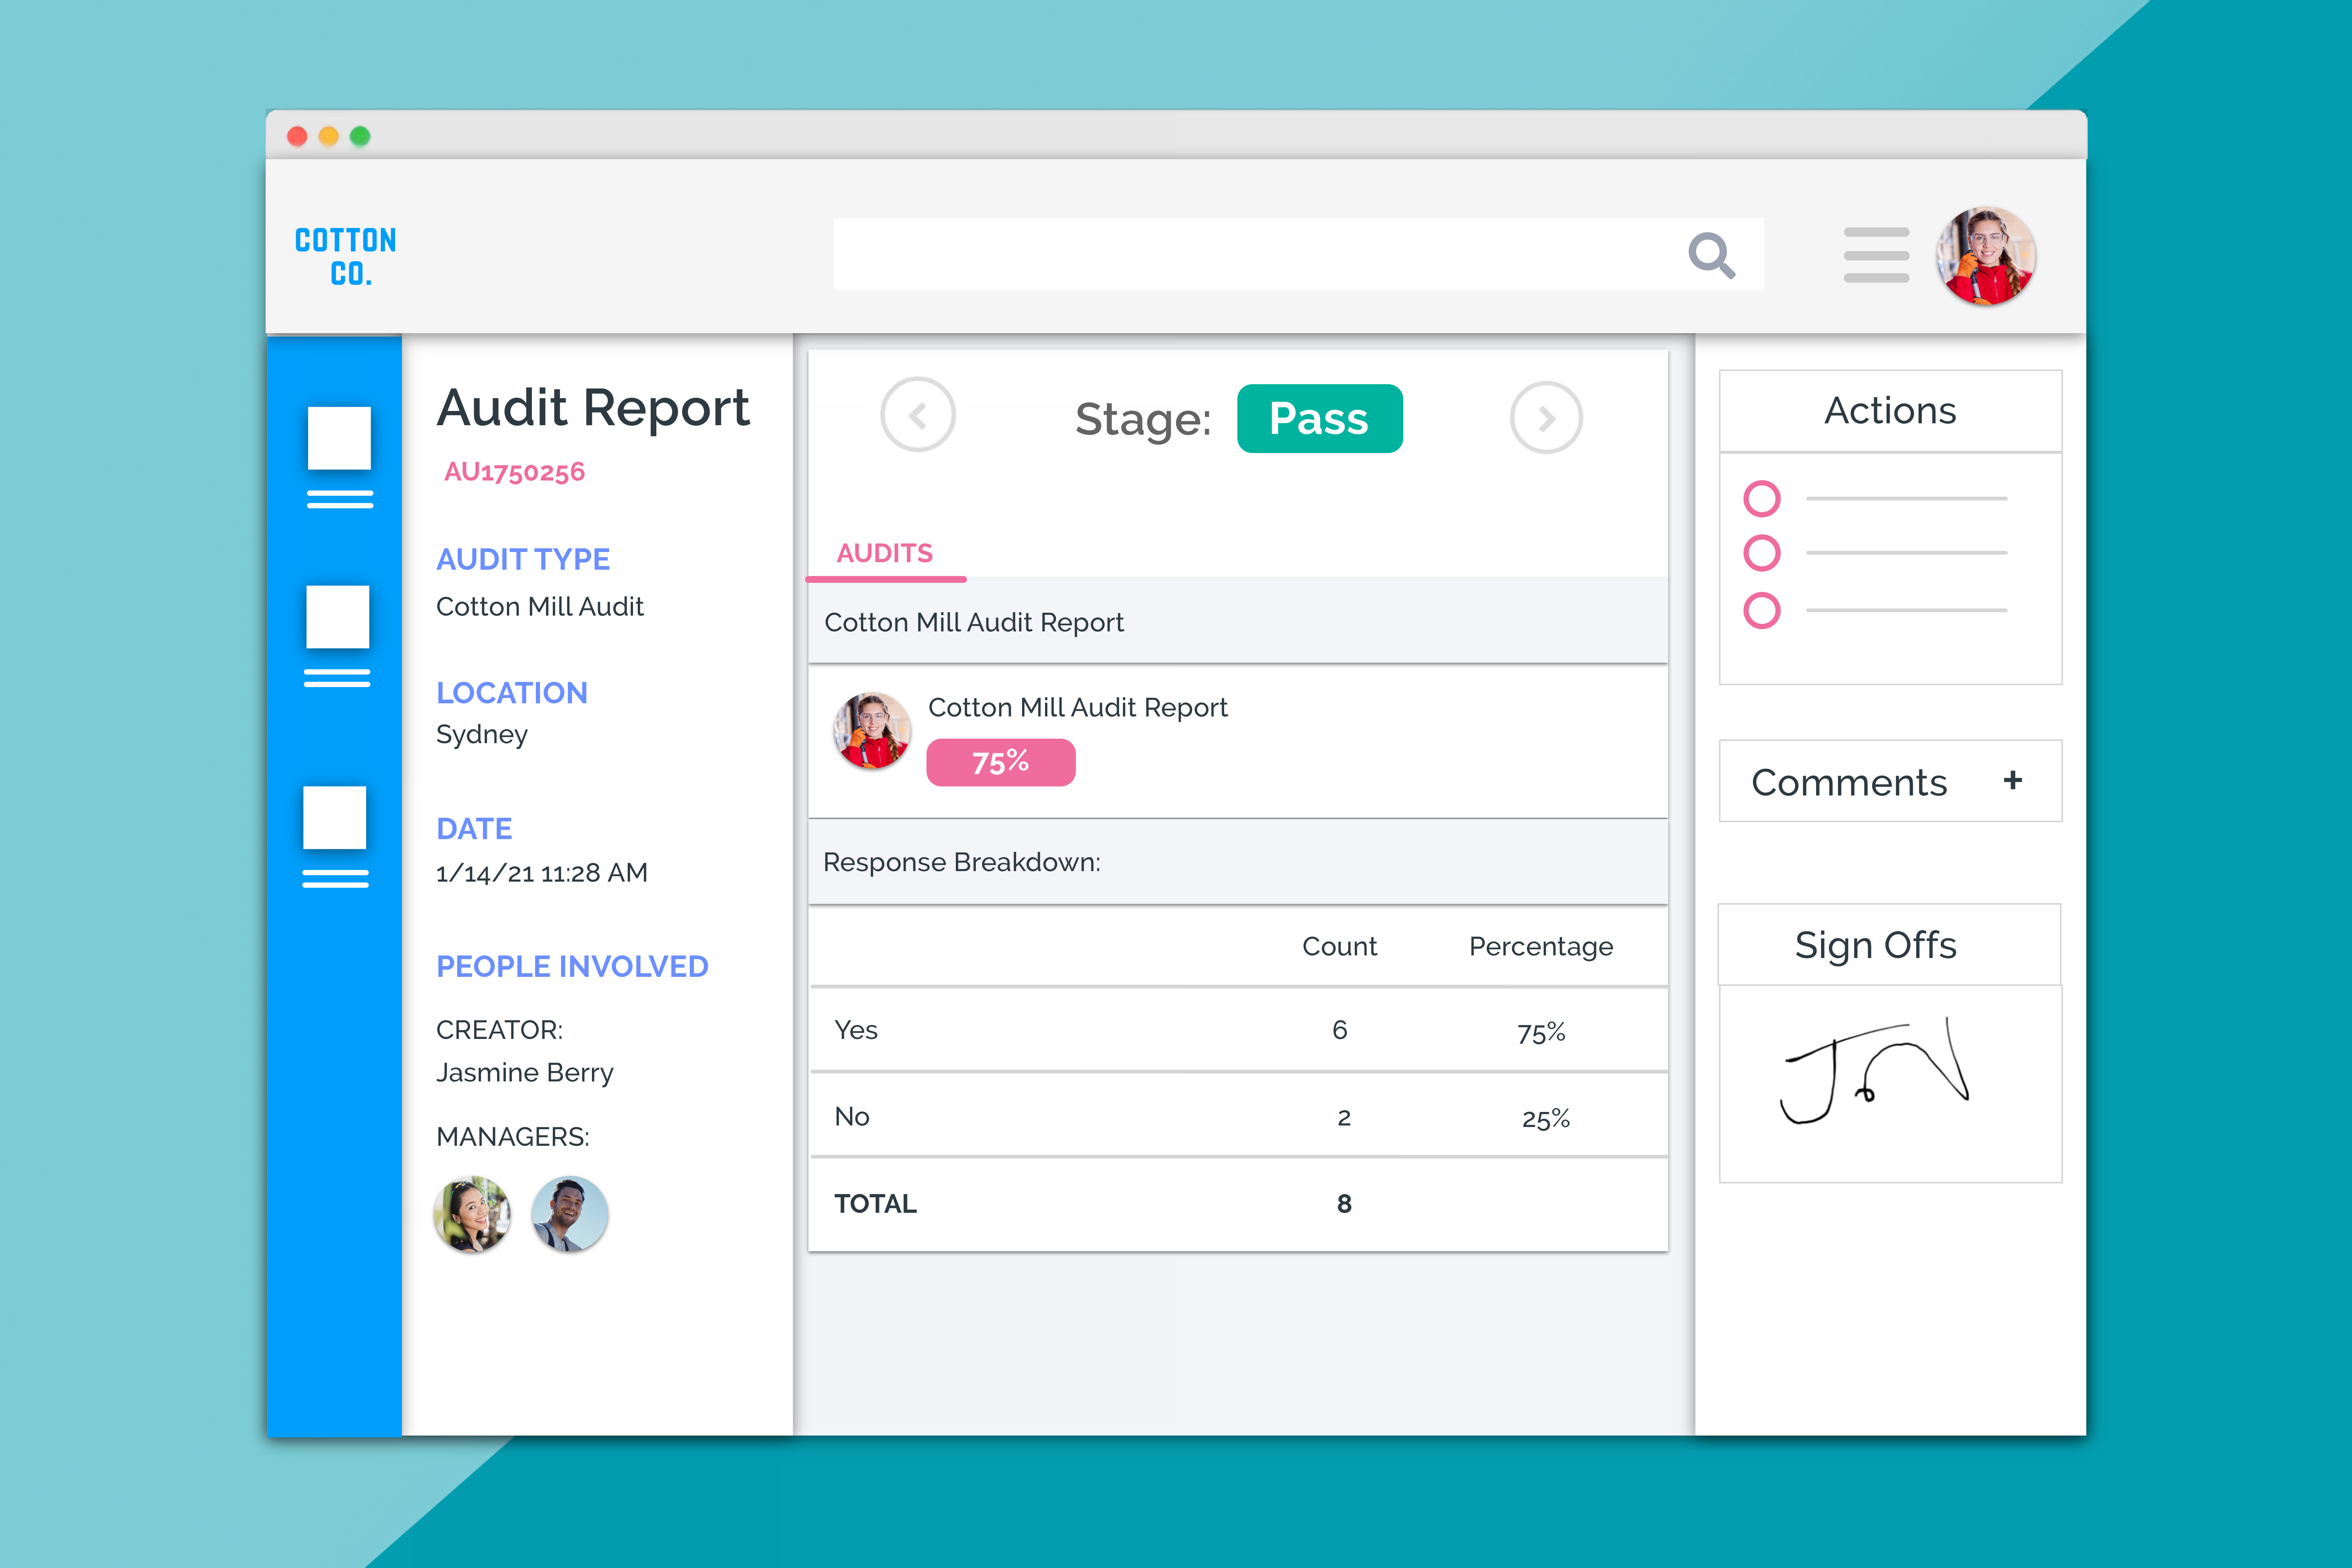
New Scoring response types for Audits and Observations.
In order to expand the capabilities for Audits and Observations, we’ve added a new response type that allows you to SCORE an audit or observation.
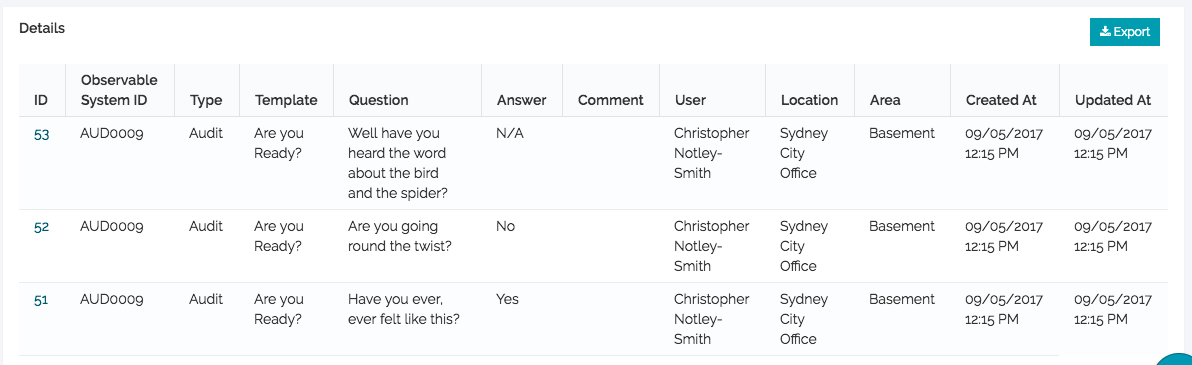
Each scoring scheme is based on the individual response TYPE, so you’ll need to set up types and then apply those types to questions. (You can click here to learn how to do that). As an example, I’ve created a response type that scores, simply: Yes, No, N/A were, Yes = 1, No = 0 and N/A = nothing.
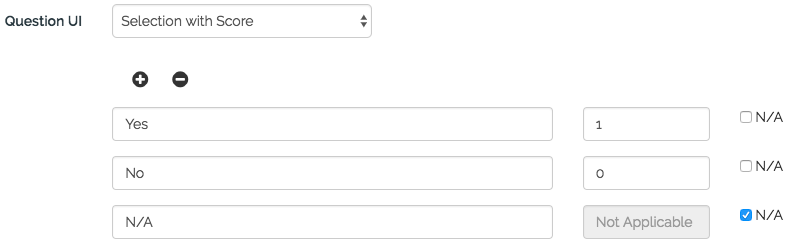
Once that’s done you can use this response type any number of times within a question template. Below I’ve made one where I answered Yes, No, N/A.
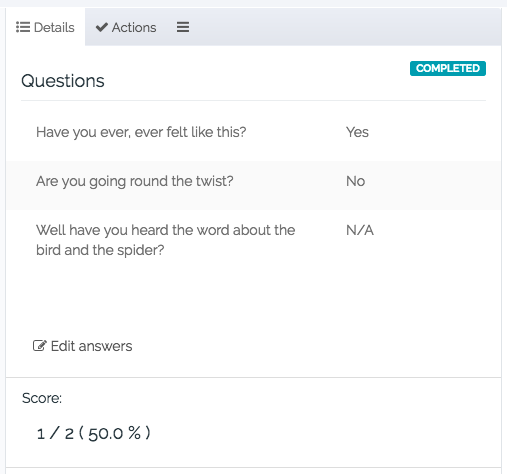
As you can see, it’s simply taken the responses that had value (not counting the question I answered with N/A) and given me a percentage score at the end.
You could use this in any number of ways; for example to deploy a literal test, OR to even set mandatory minimums for audits in order to encourage problems to be resolved before an audit can be submitted. It’s entirely up to you. Either way, it’s an exciting new feature.
Automations: Notifications and Call to Action
This one could be massive for you or you won’t notice. The new Automations tool now has the ability to send Notifications WITHOUT assigning an action. So if you’re suffering from Action spam, you can happily bid it farewell. Setting it up is crazy simple as well.
Let’s say you’re a manager and you’d like to be notified every time a Safety Incident occurs, but not assigned an action to review it. All you have to do is, within automations, when you’re selecting the “Create a new” field, simply change Action to Notification Email.
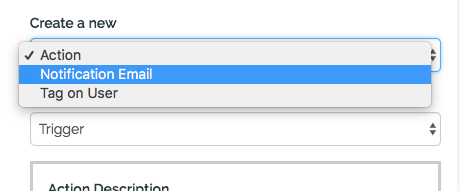
If you do that, you’ll just be sending emails as a result of the trigger rather than sending an email and assigning an action.
You’ll also notice that Call to Action functionality has also been added. If you don’t know; a “call to action” adds an additional link to the action notification and action record. That link can have the customizable text and any link address. Essentially it allows you to, for example, send a link to a knowledge base article or even an external source.
To add a Call to Action link to an action, at the bottom of the Action or Notification form on Automations click the + Add Call to Action button at the bottom and new fields will appear. Simple as that.

Export Audit/Observation results
This one’s been a common request for a while. Using the Report Builder, you can now export the actual results from a audit or observation template for all records of that template. This means you can now pull your response data out and look at it in aggregate now.
Head to help.donesafe.com for more information and assistance.
Turn off Adhoc Templates in audits/observations.
This is a little one, but it solves a lot of problems. You can now turn off the Adhoc option when
creating new Audits or Observations. The problem users were having, was that they were missing
that field and accidentally creating Adhoc templates instead of choosing the template they actually
should have been using.
Now, once Adhoc is turned off it will force the user to pick the right template. Like I said; a little one, but a good one.
Head to help.donesafe.com for more information and assistance.
Is that it? Not at all!
Since updates are coming so quickly and consistently now, rather than list every update in a blog article, instead we’ve set up a new Update Logs in the Donesafe help section. We update these logs once a week so if you need to check any recent changes you can do so there. These changes include new features as well as new bugs so it’s always worth a look.
Of course, if you have any questions about any of those items, don’t hesitate to reach out, either by commenting here or reaching out to support.
Until next time; stay safe out there!
Share: